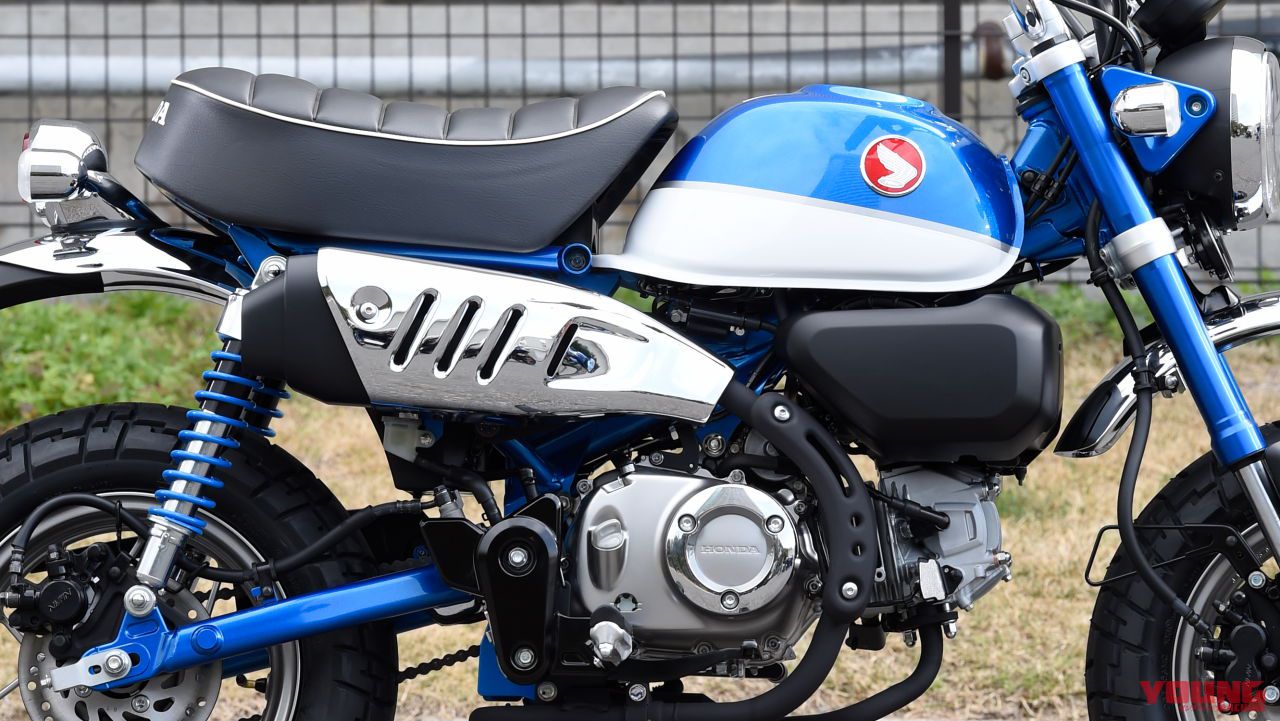
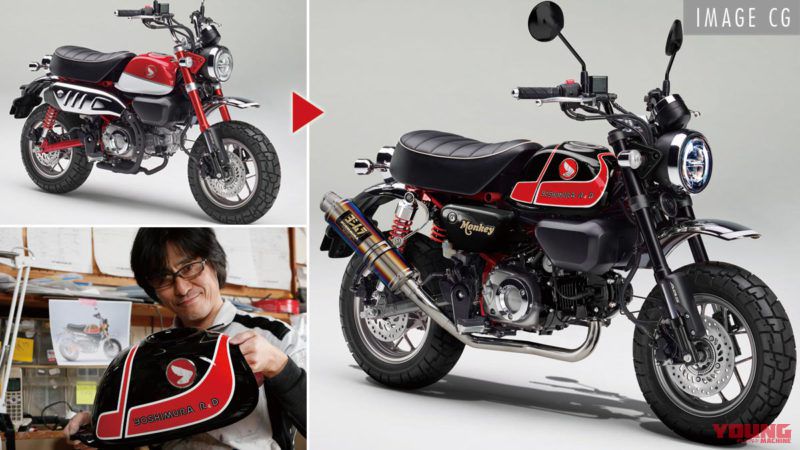
To commemorate the 46th machine of the year (MOTY) held at the end of the last year 2018, "Young Machine" magazine and Yoshimura's collaborator, Special Monkey 125 was born. On March 22 to 24, Tokyo Motorcycle Show 2019 was decided to be exhibited at Yoshimura booth. In addition, among MOTY voting participants, one lucky person who can get this MONKEY is decided at the venue! In this featured series, we will deliver a documentary on the production of 1 Special MONKEY to the world. The 3nd edition is a painting continued work by the YF design, which is charisma of the painting industry in Japan. We took a two-tone color finish.
- The main production from the time. Mr. Fukasawa's magic hand created patterns freely.
- Two-tone Color Finish with Skillful Masking Technique
- Centering
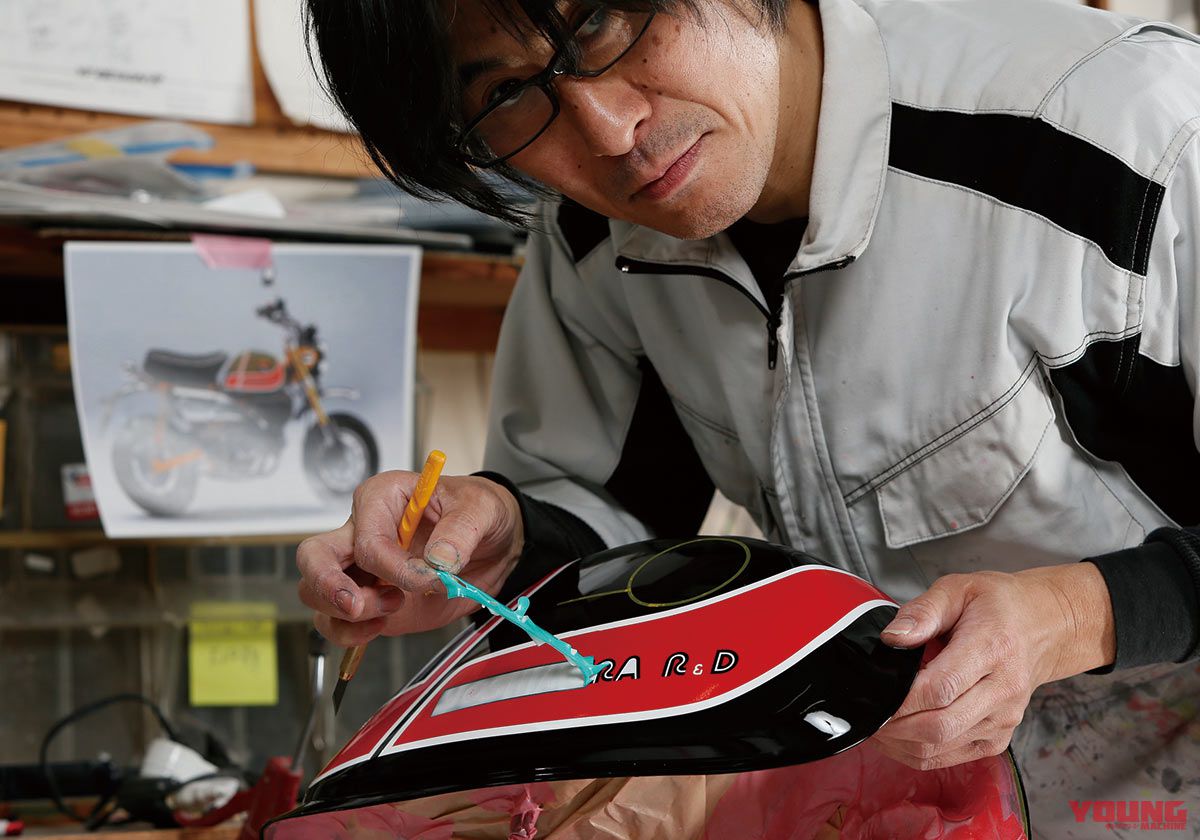
- Lining Decision
- Until he was satisfied with the image
- The base was well done!
- Here comes the Tracing Paper
- Tracing the line
- Take the tracing paper to the other side
- Masking
- Next is White Painting
- The drying is very fast
- Masking again
- "R" is like this
- And Red Painting
- The Logo is by the Computer
- Advance Alignment
- Logo Masking Completed
- And Final Painting
- Excited Moment...
- It's Completed!!
- See all the photo collection of the motorcyle here
The main production from the time. Mr. Fukasawa's magic hand created patterns freely.
When painting in a single color, it basically follows the process introduced in the previous article, but in the two-tone Yoshimura Monkey, it was the production from here. It was a showpoint of professional skills. In YF Design, who is in charge of painting, they first made an image with CG and examined the atmosphere. At this stage, it was found that it was better to change the position in a good balance while using the original wing mark emblem.
Then, based on the CG image that was created, the work to decide the line to enter the actual tank was carried out. At that time, I was surprised with Mr. Fukasawa to draw a curve freely by manipulating the masking tape like a pen. Compared with the image, it was impressive to see how many times the actual balance was broken and to proceed. The traced pattern traced line was saved for future use. He said that he would use it many times, especially in helmets with many replicas.
Then, once the design line was determined, applied the masking for painting, repeated the work going over paint masking again from above. The process presented here is the same for other machines and helmets. However, he said that if you use a lot of complex designs and colors, the coating and masking will be increased enormously.
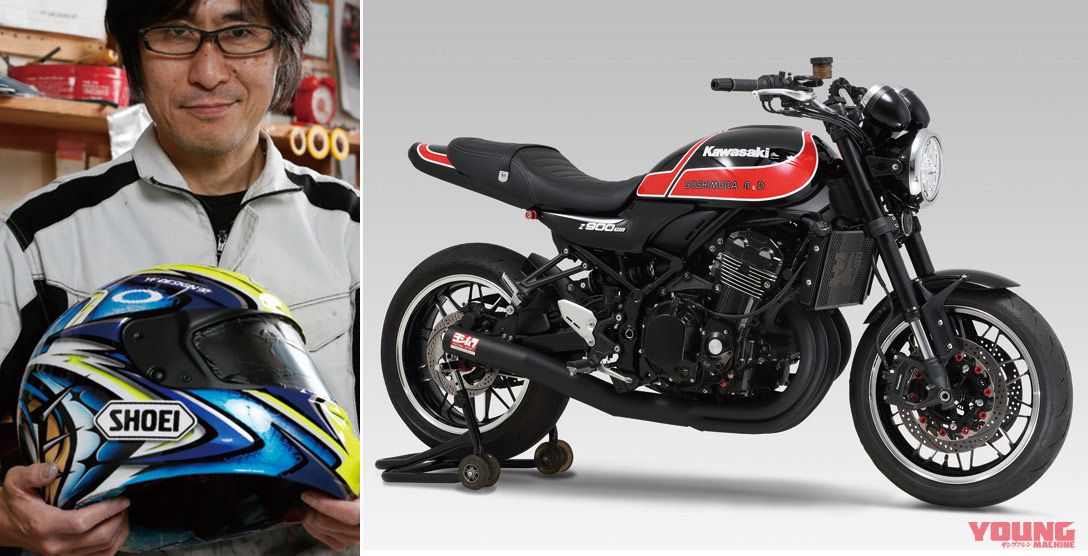
[Coverage Cooperated Shop] YF DESIGN (238-1 Roppōgaoka, Yotsukaidō-shi, Chiba Prefecture TEL:043-424-5552(http://www.yf-design.com/):This time, we asked painting to the YF design famous for helmet paint of Takaaki Nakagami who are participating in the MotoGP race and late Kato Daijiro. They are also working on Yoshimura's racers and demo model.
Two-tone Color Finish with Skillful Masking Technique
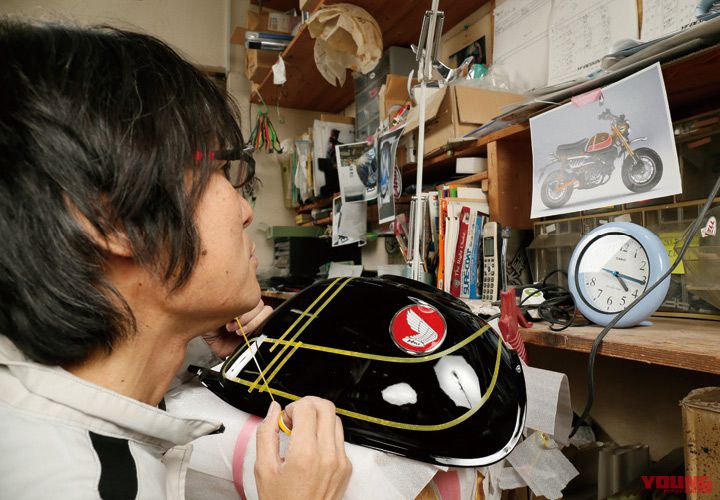
Centering
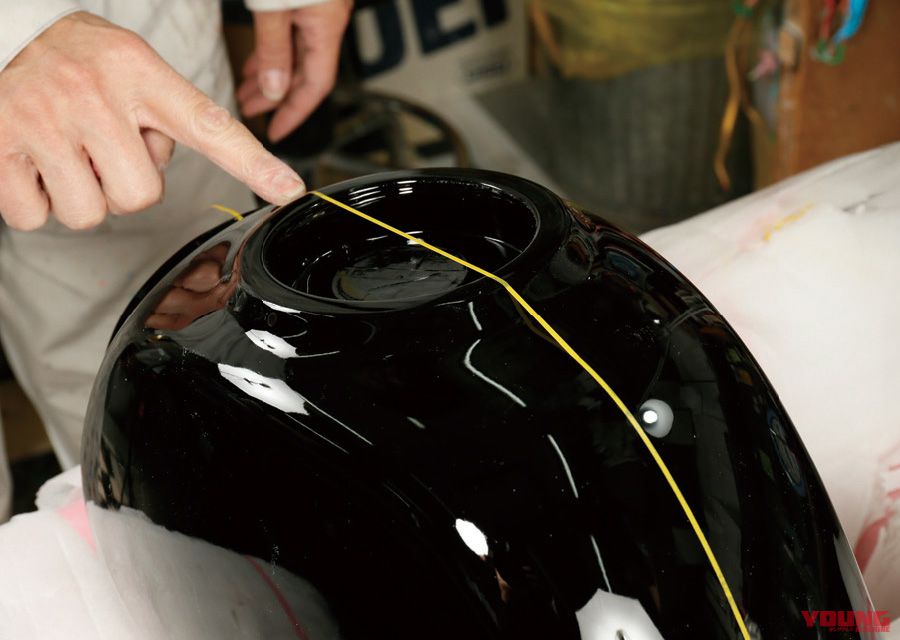
At first he decided on the basic center for putting in patterns. He also used a compass to make sure that the left and right were even, and at the same time confirmed the visual impression.
Lining Decision
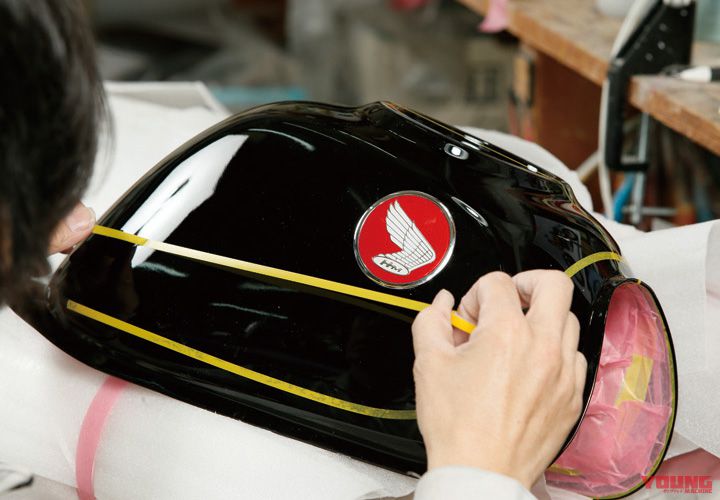
He used masking tape to draw a line for the stripe and decided to stick, peel off and peel off repeatedly.
Until he was satisfied with the image

The lines were re-pasted until they agreed with the image while comparing with the CG image created before painting. This is an important part of design.
The base was well done!
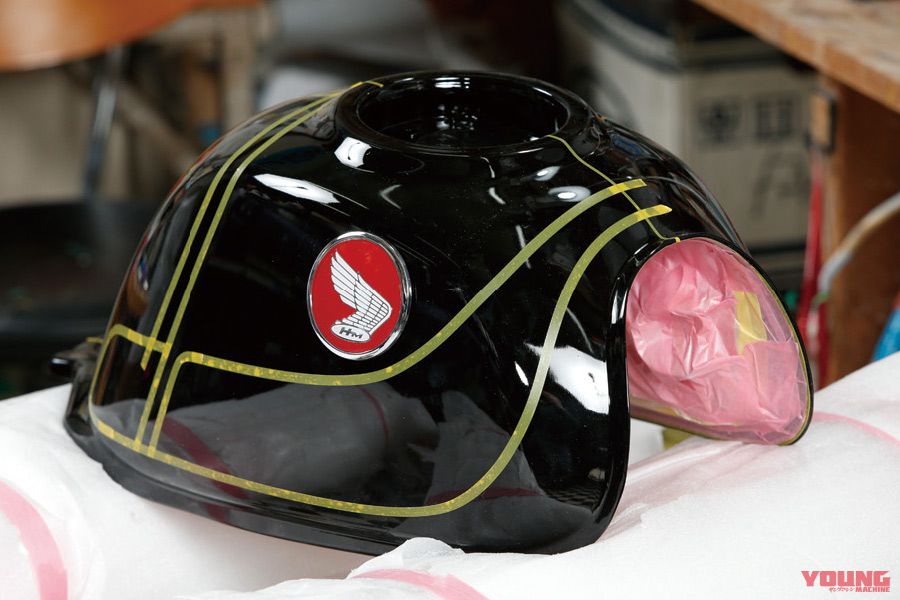
In this way, the base for putting in the stripe as Mr. Fukasawa image was completed. But still only one side. What to do with the reverse side of the line?
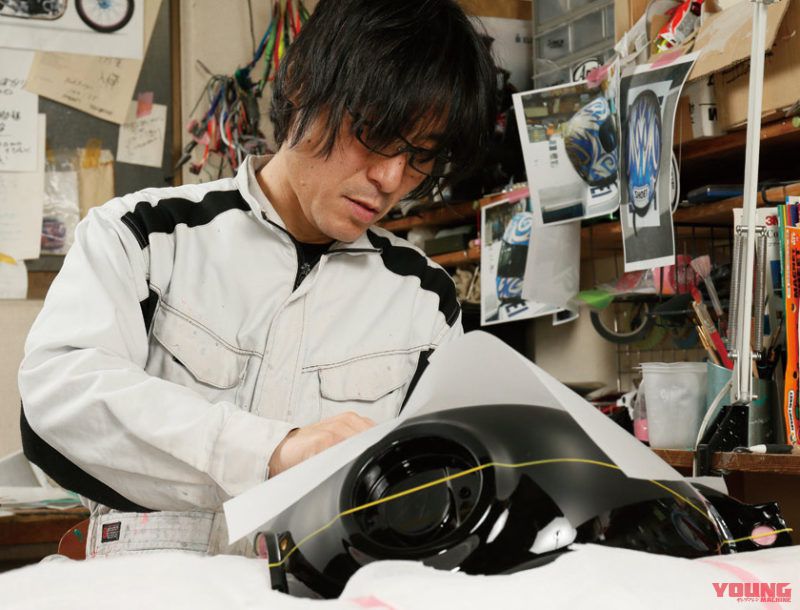
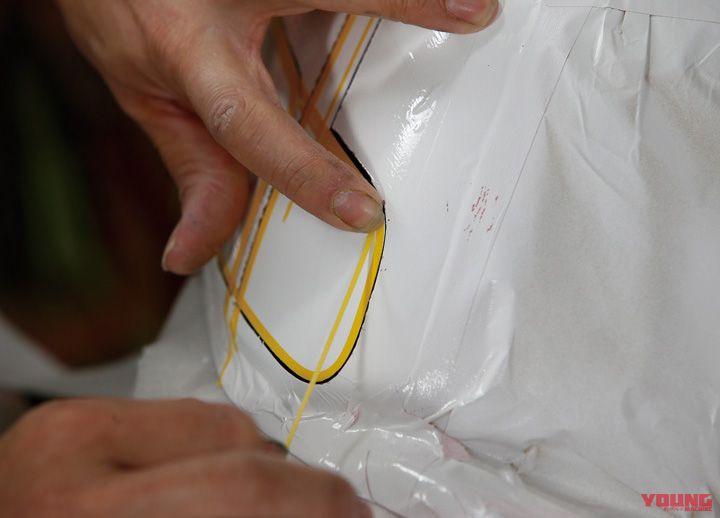
Here comes the Tracing Paper

It was a tracing paper to take out here. He shaped to fit the tank and stuck it. Do you know what to do?
Tracing the line
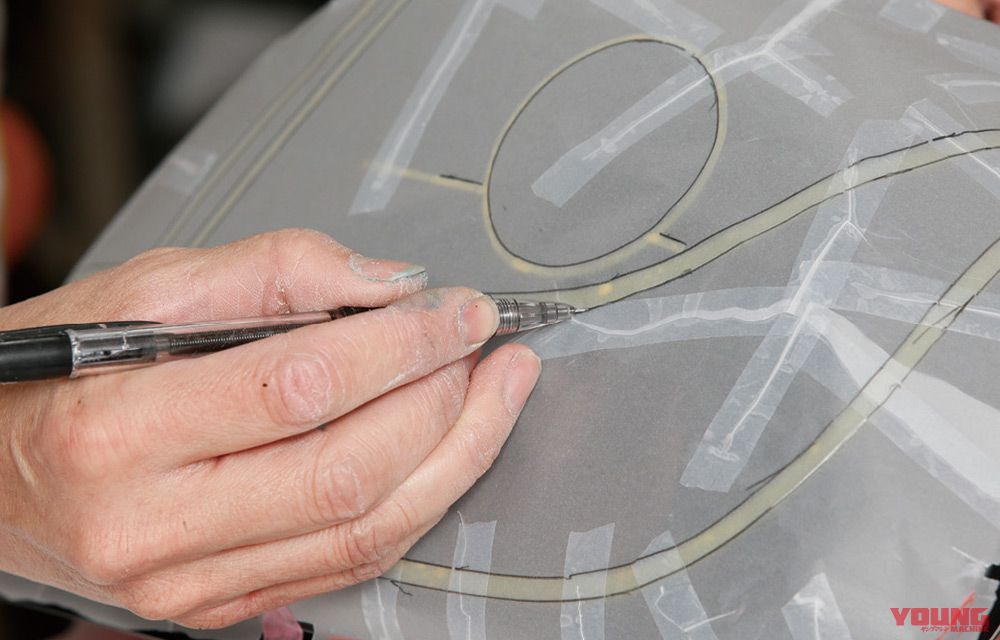
Carefully traced the lines on the tracing paper without confusion. This would be the pattern used for the reverse side.
Take the tracing paper to the other side
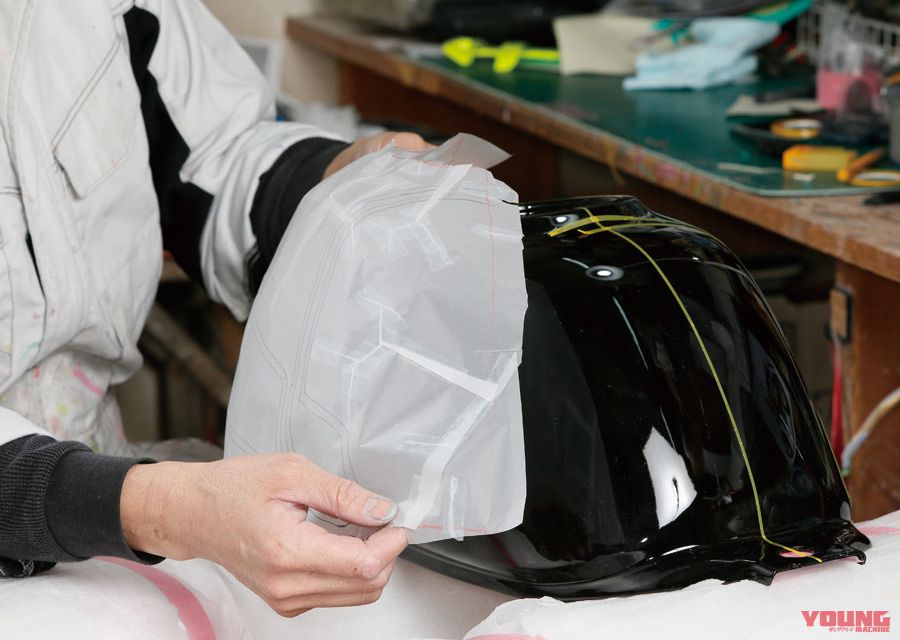
It was traced by covering the tracing paper which finished up on the reverse side. The line with masking tape on the opposite side to match there. It was perfectly symmetrical.
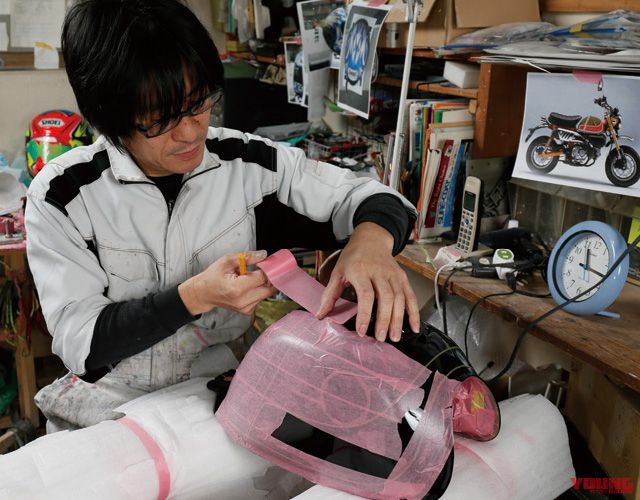
Masking

Then masked the whole leaving the part to put the stripes. The border of the stripe must be cut cleanly with a cutter, and it was processed so that dust does not remain.
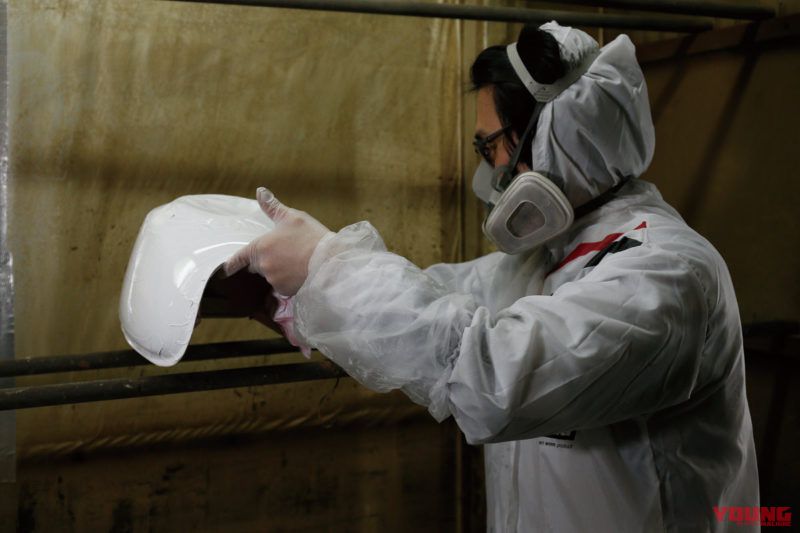
Next is White Painting
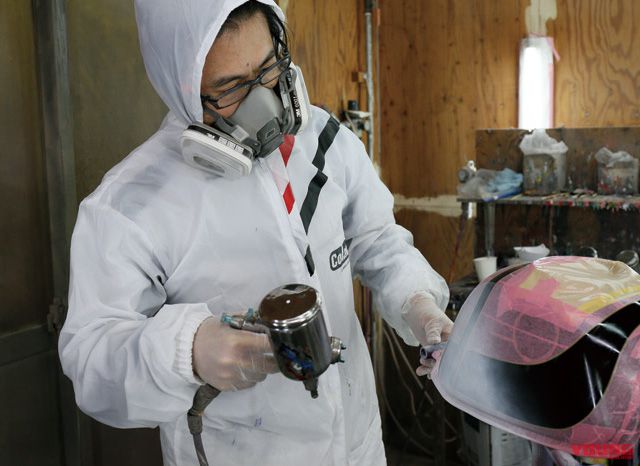
I thought that he would paint the red, but white paint is first for the accent line. off corse, it is correct way because it is better to put red on the white than black because the color will be clear.
The drying is very fast
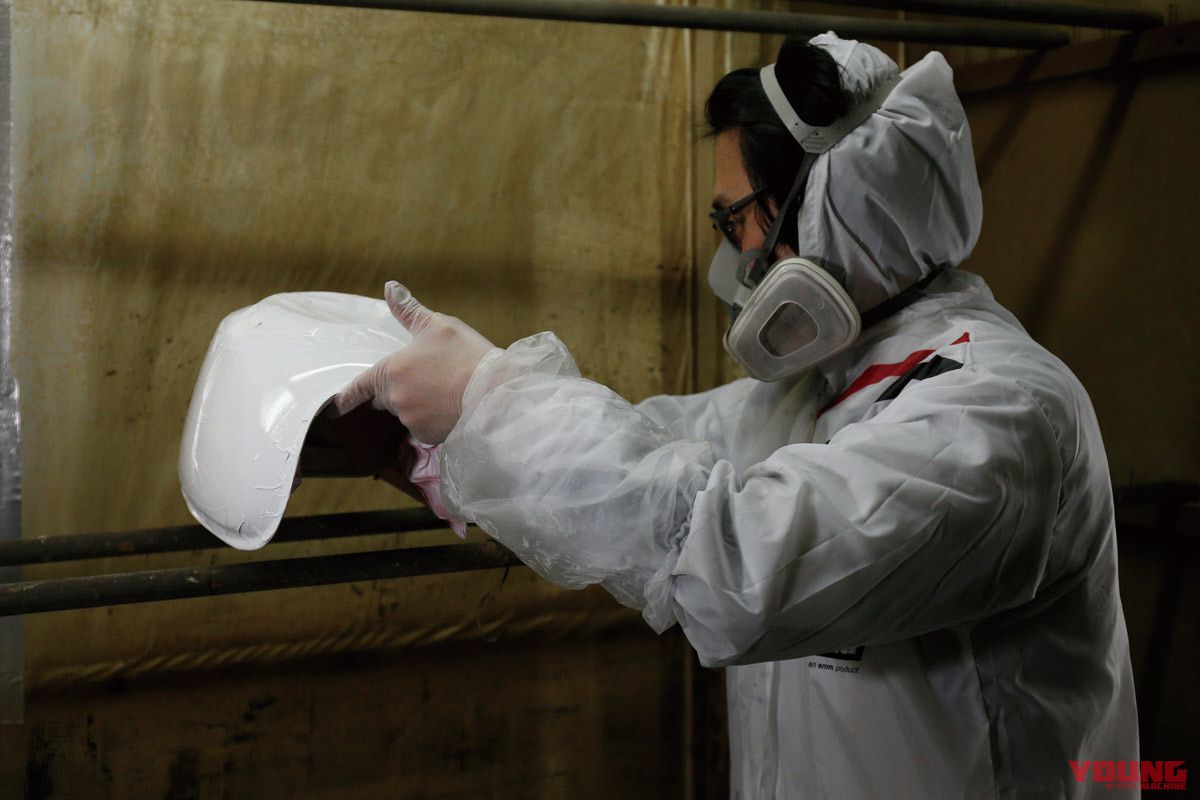
YF DESIGN says that the paint to be used is not the latest quick-dry type, but it is still a surprise to the fast drying. It takes less than an hour to put it in the drying room.
Masking again
Masking again the part that leaves the white accent line. Once the part of the tape that has been pasted was peeled off and the line is straightened.
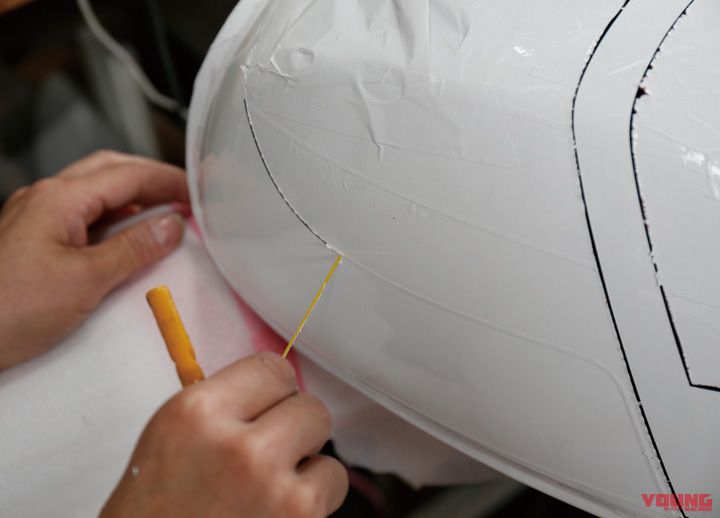
"R" is like this

When masking the 5mm width curve, the 5mm masking tape does not bend beautifully. In such a case, it is realized using 2pcs with 3 +2mm.
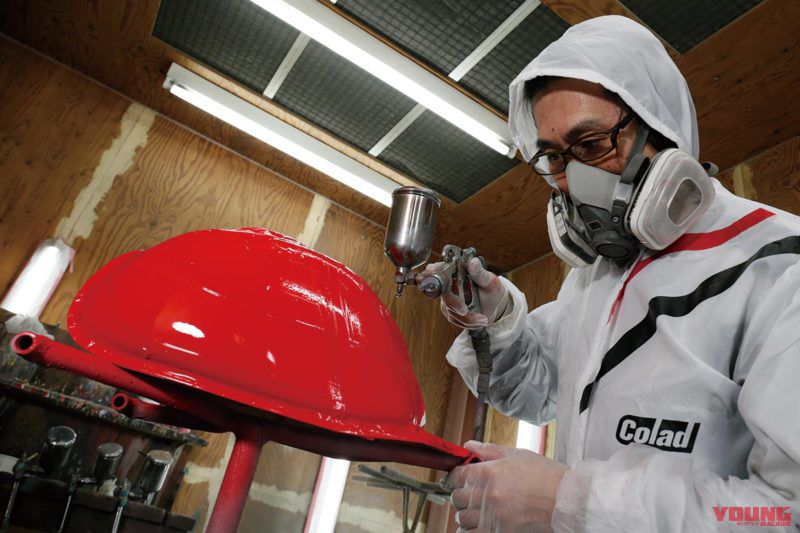
And Red Painting
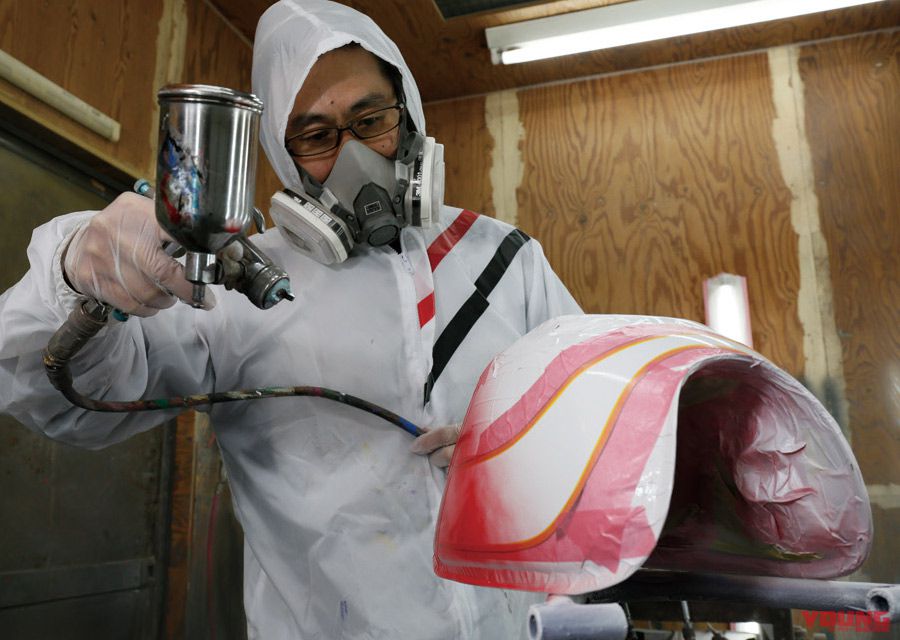
The red part was painted. The bottom of the tank covered with masking should have become a figure that is almost close to completion.

Graphic paint was the essence of YF DESIGN. Mr. Fukasawa showed me the detailed work process, but it was the sense of design that was not likely to be able to imitate absolutely. It can be said that it was the realm of magic that controls the painting technique freely, and that the helmet graphic like art was produced by hand as well as this time.
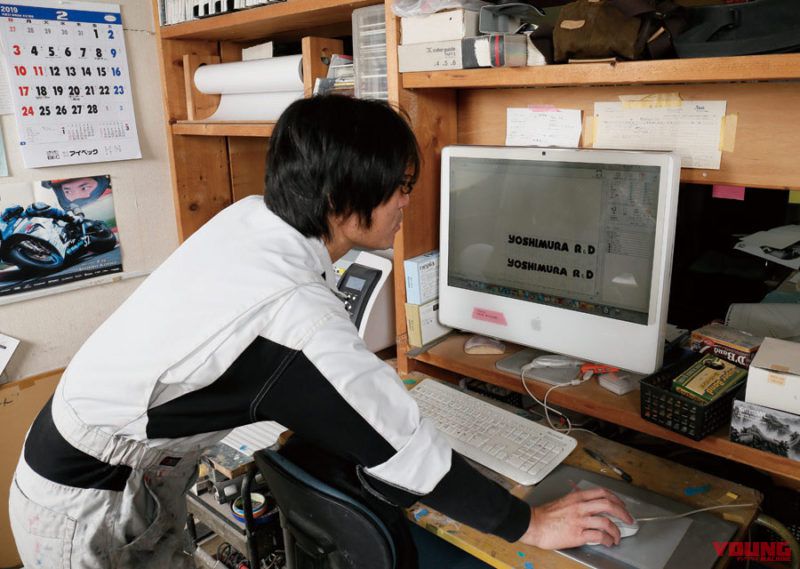
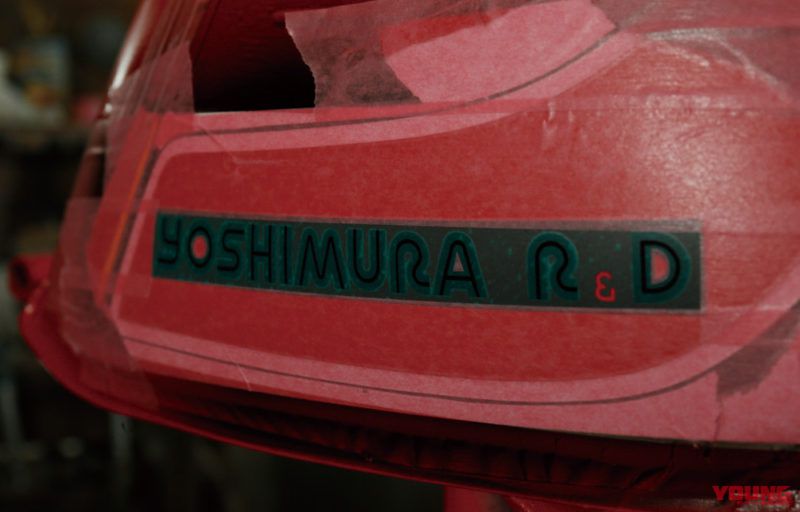
The Logo is by the Computer
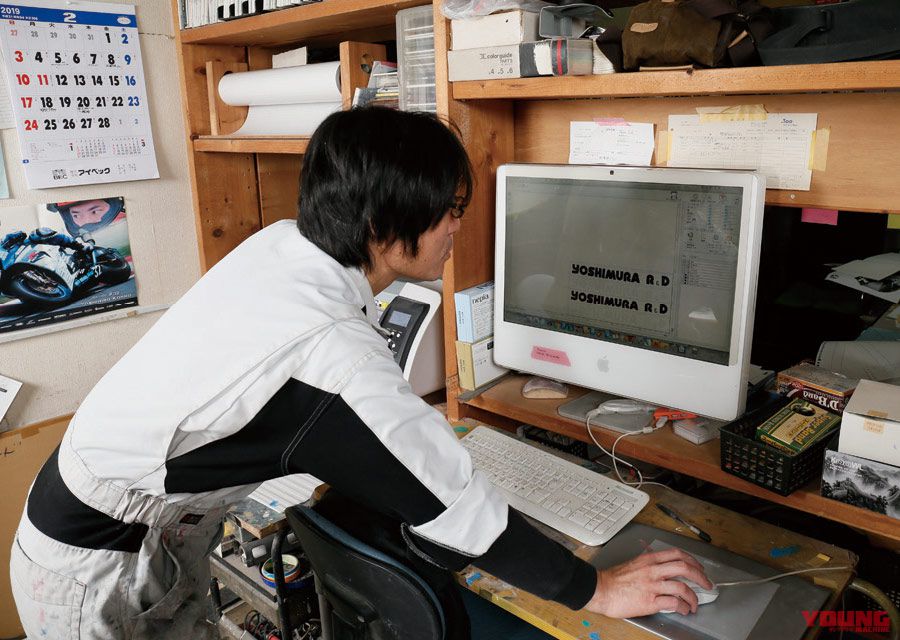
Logo masking was created while the red paint dried. It was output from the data using a computer-controlled auto-cutter.
Advance Alignment
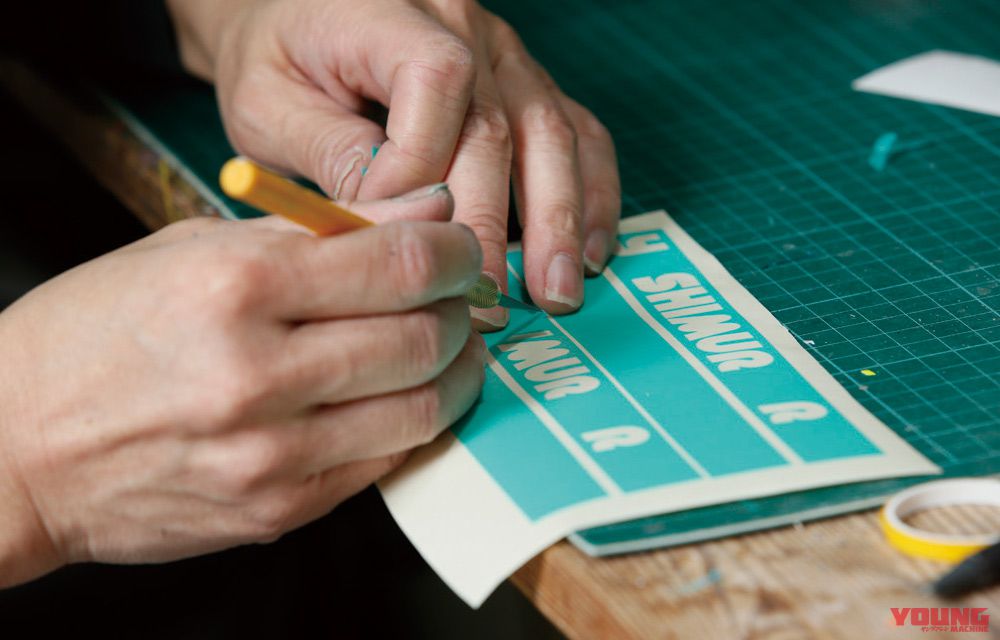
The letters were cut out before sticking to the tank. However, it is better to recut after putting it on the tank in case of a letter such as "O" or "D" that has a blank the inside.
Logo Masking Completed

The finished logo masking is aligned with the dry tank, and carefully masked in the surrounding area. Finally, it was almost the final coating.
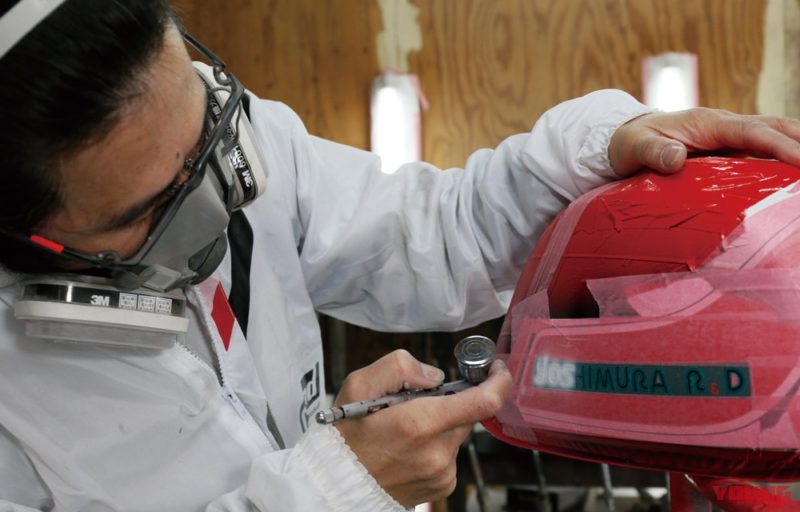
And Final Painting
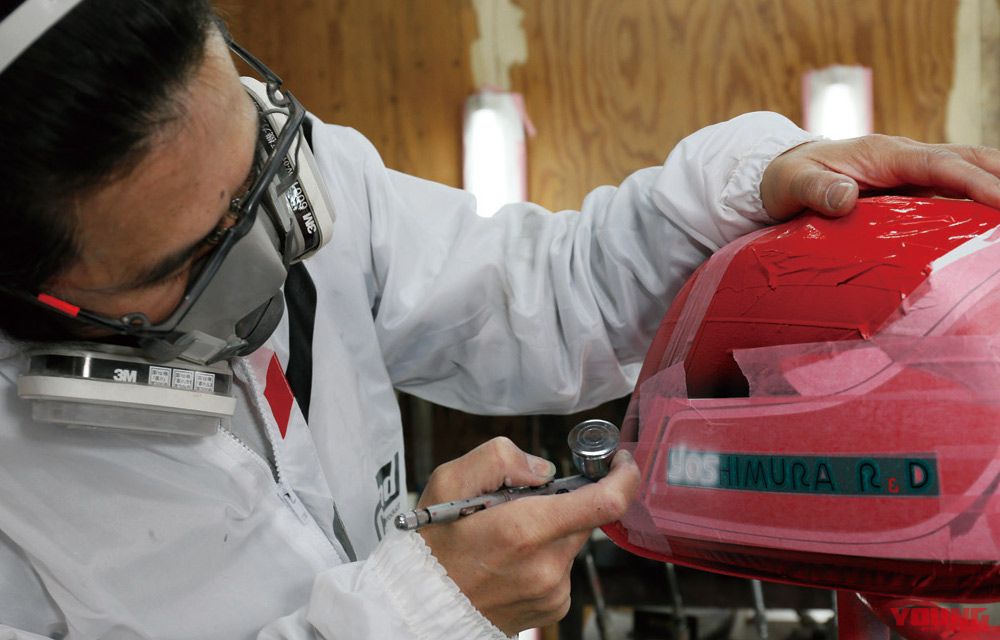
The last part of the logo was painted with a compact airbrush. After waiting for it to dry again for a few minutes, it was time to meet the all-peint tank.
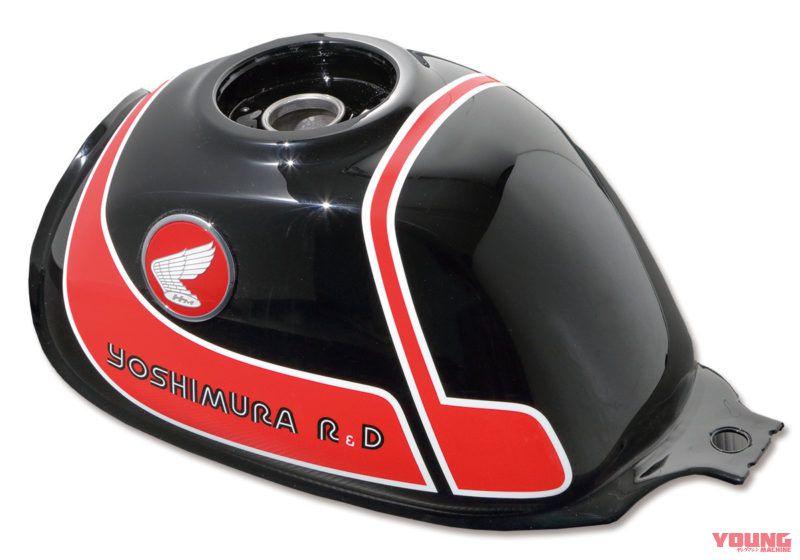
Excited Moment...
When he peeled off the masking tape that covered the whole, a stunning tank with a white line in Red x Black appeared! The fuel port was also natural for sure the boundary between the paint and the ground surface. It should be noted that in fact after this, clear paint was waiting. While making fine adjustments, he painted 7 times, and finally, it was truly complete.
It's Completed!!

Very beautiful!!
…So, next is <# 4 Front Fork Compilation>. We're looki forward to it!
• Statement By: Kenichi Miyata Photograph by: Shin Matsui
* This article is restructured based on the article published in the April 2019 issue of Young Machine.
See all the photo collection of the motorcyle here


Original Source[ Young Machine ]
See Accessories of YOSHIMURA
See HONDA Moto Index Page
See Accessories for HONDA Monkey 125